A moss wall should look calm and alive. When it starts to fade, crumble, or smell odd, it can feel like you wasted money and effort. The good news is that many “dying” indoor moss walls aren’t dead. They’re stressed, dirty, or in the wrong spot.
This article walks you through how to revive a dying indoor moss wall step by step. You’ll learn how to tell what kind of moss you have, what’s causing the problem, and what you can fix today.
First, figure out what kind of moss wall you own
Revival depends on one detail most people miss: some moss walls are living, and some are preserved. They look similar at first, but they behave very differently.
Living moss wall (needs light and moisture)
- Feels soft and springy when healthy
- May show new growth at the edges
- Usually installed with a growing base (soil, felt, foam, or a hydroponic panel)
- Often paired with misting systems or regular hand misting
Preserved moss wall (does not grow, should not be watered)
- Feels velvety or slightly spongy but not “wet alive”
- Color stays consistent for a long time, then fades or bleaches
- Often marketed as “maintenance-free”
- Made from moss treated with glycerin or similar agents
If you’re not sure, check your invoice or product page. If the seller used terms like “preserved reindeer moss” or “no watering required,” it’s preserved. If the wall came with care instructions about watering, light, and airflow, it’s living.
Quick diagnosis checklist for a dying indoor moss wall
Before you change anything, take five minutes and inspect the wall. The symptoms usually point to the cause.
- Musty smell or fuzzy growth often means mold from too much moisture, poor airflow, or a hidden leak.
- Crispy, brittle moss usually means low humidity, heat, or direct sun.
- Fading or bleaching often means sunlight, strong LEDs, or chemical exposure.
- Dusty, dull texture means airflow and static are loading it with debris.
- Moss peeling off means weak adhesive, warped backing, or repeated wet-dry cycles.
Take a few close photos. If you end up patching later, you’ll want a reference for color and texture.
How to revive a dying indoor moss wall if it’s living moss
Living moss can recover, but it needs stable conditions. Most failures come from a dry room, harsh light, or uneven watering.
Step 1: Fix humidity first (this is usually the real issue)
Most indoor air is too dry for moss, especially in winter or in homes with strong AC. Many moss types like humidity around 50-70%. Below that, moss dries and turns brittle.
Use a hygrometer and stop guessing. If you don’t own one, get a cheap digital unit and place it near the wall for a day. If you want a deeper explanation of humidity and indoor comfort ranges, the National Weather Service explains how humidity affects indoor conditions in plain language.
- If humidity is under 40%, run a humidifier in the same room.
- If the wall sits near a vent, redirect airflow or close that vent partway.
- If the wall sits above a radiator or heat source, move the heat or add a shield.
Aim for stable humidity, not spikes. A room that swings from 30% to 70% stresses moss more than a steady 50%.
Step 2: Check light levels and move the wall if needed
Moss doesn’t want hot sun. Bright, indirect light works best. Direct sun can bleach moss, overheat it, and dry it fast.
- If the wall gets sunbeams, add a sheer curtain or move it away from that window.
- If the wall sits under strong grow lights, raise the lights or reduce intensity.
- If the room is dim, use a soft full-spectrum light, but keep it gentle.
If you’re building a lighting plan for plants indoors, the University of Minnesota Extension overview on indoor plant lighting is a solid reference and easy to apply.
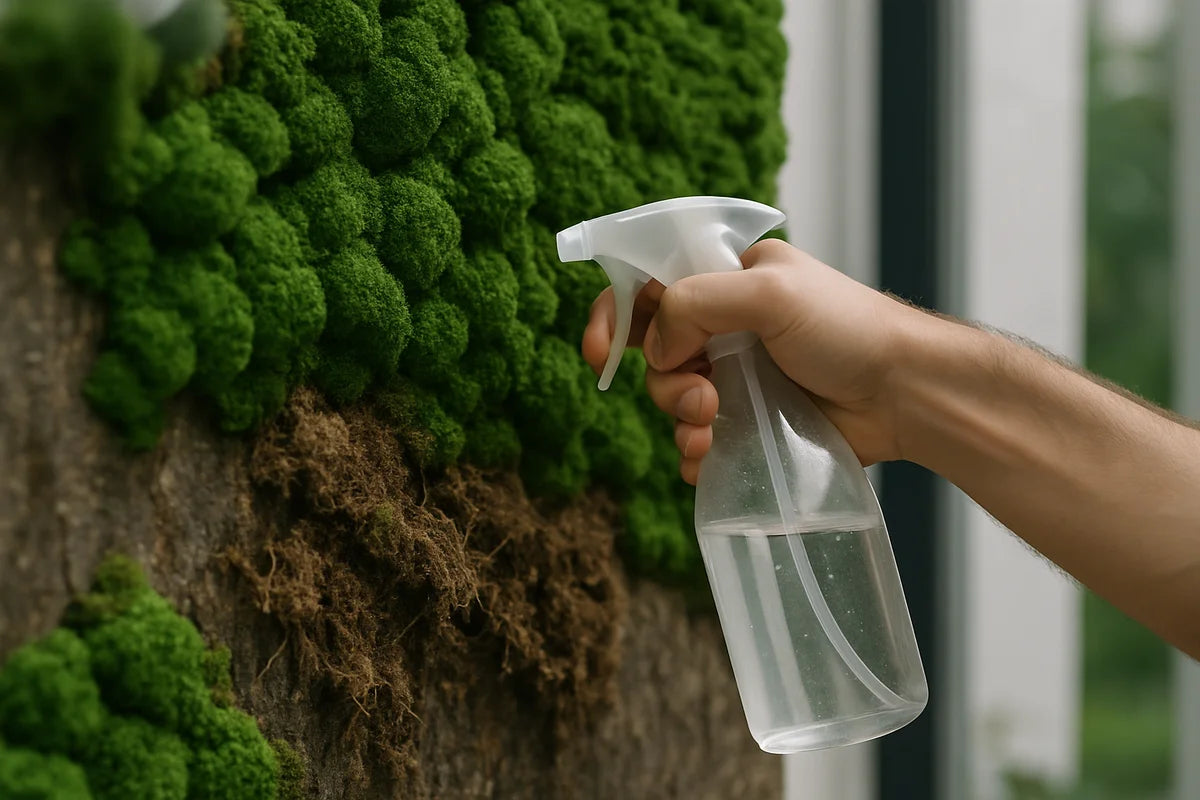
Step 3: Rehydrate the moss the right way
When people search “how to revive a dying indoor moss wall,” they often start spraying water like they’re putting out a fire. Don’t. Moss likes moisture, but it also needs air.
- Mist lightly with clean, room-temp water.
- Wait 10-15 minutes and see how it responds.
- Mist again only if it still looks flat and dry.
- Repeat for 2-3 days instead of soaking it in one go.
If your tap water is hard or heavily chlorinated, it can leave a crust or stress the moss over time. If you see white residue after misting, switch to filtered water or distilled water.
Step 4: Remove dead sections and plan small patches
Some areas won’t come back. That’s fine. Cut out the worst parts and patch them. Small repairs look cleaner than trying to “blend” a half-dead section.
- Use clean scissors or a craft knife.
- Remove moss down to the base layer so you don’t trap rot underneath.
- Let the base dry slightly before adding new moss.
For patch moss, try to match the species and texture. A patch that matches texture but not color often stands out more than you expect.
Step 5: Watch for mold and fix airflow
If your wall stays damp and the room has still air, mold can move in. If you spot fuzzy growth or smell that basement odor, pause misting and fix airflow.
- Run a fan on low across the room, not blasting the wall.
- Open the door for part of the day to reduce moisture buildup.
- Check for hidden leaks from windows, plumbing, or an HVAC line.
If you suspect mold, take it seriously. The CDC’s mold guidance explains when you can handle cleanup yourself and when you should bring in help.
How to revive a dying indoor moss wall if it’s preserved moss
Preserved moss can’t “come back” the way living moss can. It doesn’t grow and it doesn’t drink. Most damage comes from sun, low humidity, or getting it wet.
Step 1: Stop watering it
If you’ve been misting a preserved moss wall, stop now. Water can wash out the preserving agent and cause dye bleed, sagging, or mold on the backing.
Step 2: Raise room humidity, but keep the wall dry
Preserved moss still reacts to the room. When your air gets too dry, it feels crunchy and may shed.
- Aim for 40-60% humidity.
- Use a humidifier, but don’t point mist at the wall.
- Keep it away from vents, heaters, and fireplaces.
If your wall feels stiff, steady humidity often restores some softness over a week or two.
Step 3: Fix fading by changing light, not by adding water
If parts look bleached, light caused it. Move the wall away from direct sun or harsh spotlights. If you can’t move it, add UV-filter window film or change the lighting angle.
Some people try to recolor preserved moss with craft dye. It can work for small patches, but it’s easy to make a mess and end up with uneven tone. If the wall sits in a high-visibility spot, replacing a small panel often looks better than a DIY recolor.
Step 4: Clean it without wrecking the texture
Dust makes moss look gray and tired. Cleaning helps more than people expect.
- Use a soft brush (like a clean paintbrush) to lift dust.
- Use a handheld vacuum on low with a brush attachment, held a few inches away.
- Skip wet cloths and cleaning sprays.
If you want a practical reference for removing dust from textured decor safely, Better Homes and Gardens’ dusting tips covers tools and technique without turning it into a science project.
Step 5: Patch thin or shedding areas
Preserved moss sheds when it dries out too much or gets handled. If you see bald spots:
- Remove loose moss gently by hand.
- Clean the backing surface (dry only).
- Use a craft-safe adhesive that dries clear.
- Press new moss into place and let it set without touching.
For adhesives and repair methods, this Instructables preserved moss wall walkthrough is a useful, practical example. You don’t need to copy it exactly, but it shows the basic approach and common mistakes.
Common causes of moss wall decline (and fast fixes)
1) Your HVAC blows on it all day
Supply vents dry moss fast. Redirect the vent, add a deflector, or move the wall. If you can’t, raise room humidity and reduce airflow hitting the surface.
2) Direct sun hits one spot
That one bright patch turns pale first. Add a sheer curtain, move the wall, or change the layout so another object blocks the beam.
3) You overwatered and trapped moisture behind the moss
This shows up as smell, dark patches, or backing that feels soft. Pause all water, increase airflow, and check the wall edges for damp drywall or leaks.
4) The backing failed
If moss slides or buckles, the problem may be the board, glue, or wall surface. Reattach small sections now before gravity turns it into a bigger repair.
5) Dust and cooking oil coated it
Kitchens kill moss walls. Fine grease sticks to texture and darkens it. Move the wall away from the stove, run a better range hood, and clean gently and often.
A simple weekly care routine that keeps a moss wall looking good
Once you revive a dying indoor moss wall, maintenance should feel light. You’re aiming for steady conditions, not constant tinkering.
- Check humidity once a week and adjust your humidifier as seasons change.
- Scan for sun patches as the sun angle shifts through the year.
- Dust lightly every 2-4 weeks, more often if you have pets.
- For living walls, mist only when the moss actually looks dry and flat.
- For preserved walls, don’t mist. Keep the room comfortable instead.
When you should replace sections instead of trying to save them
Sometimes revival turns into endless fuss. Replacing a few areas can save time and look better.
- The backing smells musty even after drying and airflow changes.
- The moss turned black or slimy (often rot).
- Large areas are bleached and you can’t change the light source.
- The wall sheds every time you walk by, even at good humidity.
If you replace sections, order extra material for future patches. Moss lots vary in color, and a small stash helps you match later.
Looking ahead with a healthier moss wall
Once your wall looks better, lock in the conditions that got it there. Put a small hygrometer near the wall, set a humidity range you can hold, and solve light problems before they fade the color. If you want the easiest next upgrade, add a humidifier with a built-in sensor so the room stays steady without you babysitting it.
A moss wall doesn’t need constant care. It needs the right spot, stable air, and a light touch. Get those right, and you won’t have to search “how to revive a dying indoor moss wall” again any time soon.

