Want fresh greens in winter, tomatoes without a yard, or herbs that don’t die on the windowsill? An indoor vegetable garden can work in a small apartment or a busy home, but only if you match plants to your light, space, and time.
This article walks you through how to start a vegetable garden indoors with simple gear, reliable crops, and a setup that won’t turn into a mess. You’ll learn what to grow, where to put it, how to light it, and how to avoid the mistakes that stop most indoor gardens before they produce food.
Start with the right question: what can your space support?

Indoor gardening isn’t hard. It’s picky. The plants don’t care what you hope will grow. They care about light, warmth, water, and root space.
Check your light first (it decides everything)
Before you buy seeds, stand where you plan to grow and look at the light:
- South-facing window: best natural light in most of the Northern Hemisphere
- East-facing: good for leafy greens and herbs, often not enough for fruiting crops
- West-facing: can work, but afternoon heat can stress plants near glass
- North-facing: usually too dim for vegetables without grow lights
If you want to grow more than herbs and microgreens, plan on a grow light. Natural light through glass is weaker than it looks, and winter days cut it even more.
For a clear explanation of indoor light needs and plant placement, the University of Minnesota Extension’s indoor gardening guidance is a solid reference.
Decide what “indoor vegetable garden” means for you
There are three common indoor setups. Pick one based on what you want to eat.
- Fast greens: microgreens, baby lettuce, arugula, spinach
- Kitchen staples: herbs, green onions, radishes, dwarf carrots
- Fruiting crops: cherry tomatoes, peppers, dwarf cucumbers (needs strong light and more space)
If you’re new, start with fast greens. A harvest in 2 to 4 weeks keeps you going.
What to grow indoors (beginner picks that pay off)
When people fail at starting a vegetable garden indoors, it’s often because they choose the wrong crops. Big plants need big light and big root space. Choose plants that stay compact and grow quickly.
Easiest indoor vegetables for quick wins
- Microgreens (radish, broccoli, mustard, sunflower): high success, minimal gear
- Loose-leaf lettuce: cut-and-come-again harvests
- Arugula: fast and forgiving
- Baby spinach: slower than lettuce but worth it
- Radishes: quick roots, good learning crop
Herbs that behave indoors
- Basil: loves warmth and strong light
- Parsley: slow to sprout, steady once established
- Cilantro: bolts fast in heat, sow small batches often
- Chives: tough and compact
- Mint: easy, but keep it in its own pot
Fruiting crops (only if you have real light)
If you want tomatoes or peppers indoors, plan to use a grow light and hand-pollinate flowers. Look for dwarf or patio varieties.
- Dwarf cherry tomatoes (patio types)
- Small peppers (compact chili or mini sweet peppers)
- Dwarf cucumbers bred for containers
You can do it, but don’t start here if you’re still learning how fast indoor pots dry out.
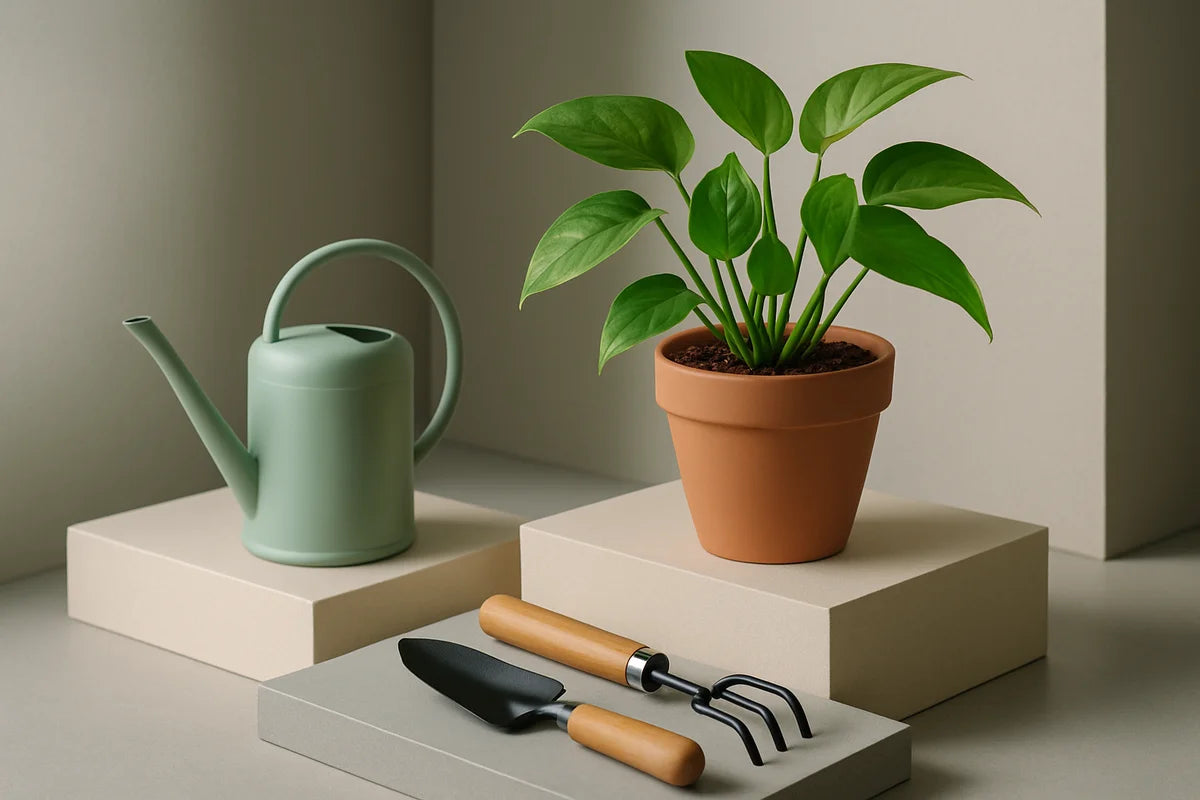
Supplies you need (and what you can skip)
You don’t need a gadget-heavy setup. You do need a few basics that prevent common indoor problems like fungus gnats, leggy seedlings, and soggy roots.
The short list
- Containers with drainage holes (or nursery pots inside a waterproof tray)
- Saucers or trays to catch runoff
- Seed-starting mix for seeds and young seedlings
- Potting mix for larger plants (not garden soil)
- A simple watering can or squeeze bottle
- Grow light (recommended for most indoor vegetable gardens)
- Timer for the light (cheap and saves effort)
Choosing containers: size matters more than style
Small pots look neat and fail fast. Plants run out of water and root room. Use these rough sizes:
- Microgreens: shallow tray, 1 to 2 inches deep
- Leafy greens: 6 to 8 inches deep minimum
- Radishes: 6 inches deep
- Carrots (short types): 8 to 12 inches deep
- Tomatoes or peppers: 3 to 5 gallons per plant
If you want a quick primer on container sizing and indoor plant care, Penn State Extension’s indoor gardening resource lays it out plainly.
Soil: don’t use dirt from outside
Outdoor soil compacts in pots, drains poorly, and can bring pests indoors. Use:
- Seed-starting mix for germination (light, fine texture)
- Potting mix for established plants (holds moisture but still drains)
For many indoor vegetables, a basic potting mix plus a little extra perlite works well. If you already have fungus gnat issues, avoid mixes that stay wet for days.
Lighting: the make-or-break factor indoors
If you remember one thing about how to start a vegetable garden indoors, make it this: light controls growth. Weak light causes thin, stretched plants that fall over and never thrive.
What kind of grow light works?
For most home setups, LED grow lights are the easiest choice. They run cool, use less power, and last for years.
- For greens and herbs: a simple LED grow light strip or panel can work well
- For fruiting plants: you’ll need a stronger fixture and closer placement
Place the light close enough to keep plants compact, then raise it as they grow. Most growers keep LEDs a few inches to a foot above the canopy, depending on strength. If seedlings stretch, the light is too far away or too weak.
How long should the light stay on?
Most indoor vegetables do well with a steady schedule:
- Leafy greens and herbs: 12 to 14 hours a day
- Fruiting crops: 14 to 16 hours a day
Use a timer. Consistency beats guesswork.
If you want a deeper, science-backed explanation of plant lighting terms like PPFD and photoperiod, Michigan State University Extension’s lighting overview is a good starting point.
Step-by-step: how to start a vegetable garden indoors from seed
You can buy seedlings, but seeds give you variety and cost less. This is the simplest seed-to-harvest workflow for indoor vegetables.
1) Pick 2 to 3 crops and start small
Don’t start ten seed packets at once. Try this beginner combo:
- Loose-leaf lettuce
- Arugula
- Basil or chives
2) Fill containers and water the mix first
Dry potting mix can repel water. Pre-moisten it in a bowl or water the pot slowly until it’s evenly damp, not muddy.
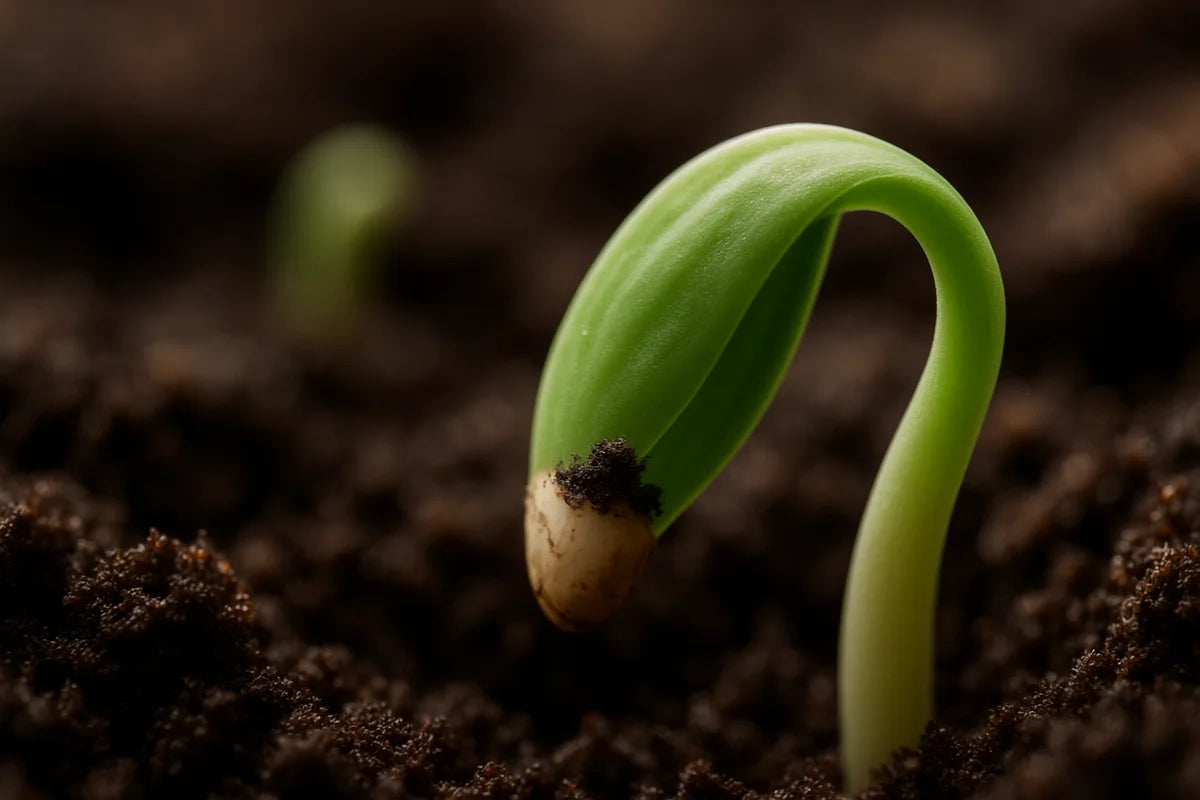
3) Sow seeds at the right depth
A simple rule works: plant seeds about twice as deep as they are wide. Tiny seeds often need only a light cover or a press into the surface.
4) Cover, label, and keep warm
- Cover trays with a clear lid or plastic wrap until sprouting
- Label each pot (you won’t remember)
- Keep most seeds warm, around typical room temperature
5) Give light as soon as seeds sprout
Don’t wait. The moment you see green, put seedlings under strong light. This is where many indoor gardens go wrong.
6) Thin seedlings early
Overcrowding causes weak growth and mold. Snip extra seedlings at soil level instead of pulling them out and disturbing roots.
7) Feed lightly after the first true leaves
Seed-starting mix has few nutrients. Once plants have true leaves (not the first round of baby leaves), start a mild fertilizer routine.
For safe fertilizer handling and good basics on plant nutrition, EPA guidance on safer gardening practices is a sensible reference point for home growers.
Watering indoors: how to avoid root rot and fungus gnats
Indoor watering feels simple until you do it wrong for two weeks. Then you get droopy plants, yellow leaves, and tiny flies in your kitchen.
Use the “lift the pot” test
Pick up the pot right after watering. Pick it up again the next day. Weight teaches you more than a schedule. Water when the top inch feels dry for most greens and herbs, and when the pot feels noticeably lighter.
Bottom watering helps with seedlings
Set pots in a tray with water for 10 to 20 minutes, then drain. The mix wicks moisture upward and keeps the surface a bit drier, which can reduce gnats and algae.
Airflow matters more than people think
Still air plus wet soil invites mold. A small fan on low, aimed past the plants, helps keep stems sturdy and the surface drier.
If you run into fungus gnats, this practical guide from Iowa State University Extension on fungus gnats explains the life cycle and control steps.
Pollination and pruning for indoor vegetables
Leafy greens don’t need pollination. Fruiting crops do. Indoors, you become the wind and the bees.
How to hand-pollinate tomatoes and peppers
- Tomatoes: tap the flower clusters gently each day, or use an electric toothbrush on the stem near blooms
- Peppers: use a small paintbrush to move pollen inside each flower
Pruning keeps indoor plants manageable
- Pinch basil tips to encourage bushy growth
- Remove yellowing leaves to improve airflow
- For tomatoes, consider pruning suckers if the plant gets too dense
Indoor garden layouts that work in real homes
You don’t need a dedicated “grow room.” You need a repeatable setup you won’t hate living with.
The windowsill plus one light
Use the window for daylight and a small LED bar to extend the day. This setup works well for herbs and greens.
A simple shelving unit garden
A cheap wire shelf with one light per level lets you scale up without taking over a table. Add trays to catch water and keep cleanup easy.
Countertop microgreens station
Microgreens need shallow trays, steady moisture, and decent light. They fit almost anywhere, and you can harvest with scissors. For a practical how-to on trays, sowing density, and harvest timing, Bootstrap Farmer’s microgreens guide is clear and field-tested.
Troubleshooting: quick fixes for common indoor garden problems
Leggy seedlings
- Cause: weak light or light too far away
- Fix: move light closer, increase light hours, add gentle airflow
Yellow leaves
- Cause: overwatering, low nutrients, or poor drainage
- Fix: let the mix dry slightly, check drainage holes, start mild feeding
Mold on soil
- Cause: surface stays wet, poor airflow
- Fix: bottom water, run a fan, scrape off the top layer and refresh with dry mix
Fungus gnats
- Cause: consistently wet soil
- Fix: dry the top inch, use sticky traps, bottom water, consider BTI dunks in water
Slow growth
- Cause: not enough light, cool temps, cramped roots
- Fix: upgrade light, keep temps steady, transplant into a larger pot
Harvesting: how to keep plants producing
The harvest method changes how long your indoor vegetable garden lasts.
Cut-and-come-again for greens
For lettuce, arugula, and many salad mixes, harvest the outer leaves first. Leave the center to regrow. You’ll get multiple rounds instead of one.
Microgreens: harvest once, then replant
Cut just above the soil line when the first true leaves start to appear. Then start a new tray. Stagger trays every week if you want a steady supply.
Herbs: pinch, don’t shave
Pinch basil and herbs from the tips to promote branching. Don’t strip all leaves from one stem. That slows regrowth.
Next steps: build a simple indoor garden routine you can keep
Once you’ve harvested your first bowl of greens, you’ve done the hard part. Now make it easy to keep going. Set a light timer, pick two watering days to check pots, and start seeds in small batches so you don’t end up with ten plants ready at once.
If you want to level up, add one shelf, one more light, and one new crop at a time. Try radishes next. Or grow salad greens in two containers so you can rest one while the other regrows. The best indoor gardens don’t rely on willpower. They rely on a setup that fits your space and a routine you won’t quit.
