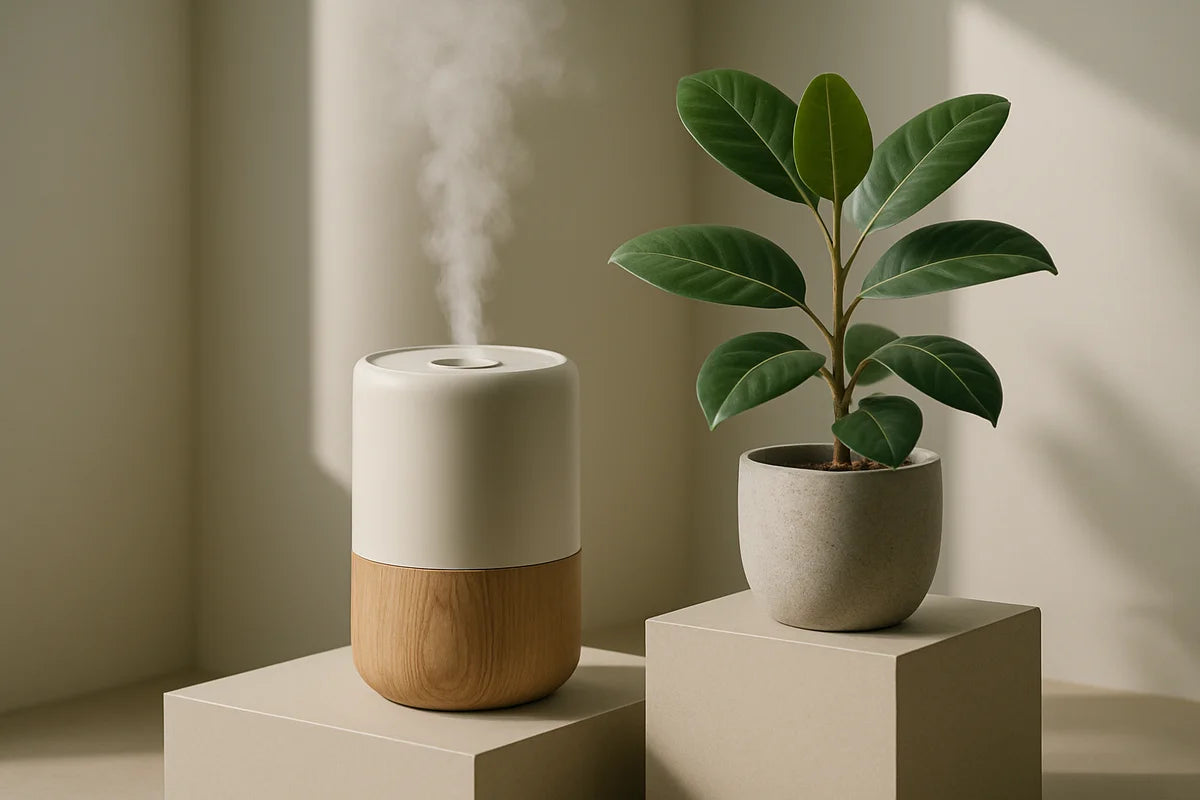
Natural humidifiers for comfortable living: simple ways to add moisture without machines
Dry air can make a home feel harsh. Your nose gets stuffy, your skin feels tight, and you wake up thirsty. A standard electric humidifier can help, but it’s not your only option. Natural humidifiers use water, heat, airflow, and a bit of common sense to raise indoor humidity with little cost and less upkeep.
This guide explains what “natural humidifiers” are, when they work best, and how to use them safely. You’ll get practical setups, room-by-room tips, and a few rules that help you avoid mold and dust mites while you chase comfort.
What “natural humidifiers” really mean
A natural humidifier is any non-electric method that adds water vapor to the air. It can be as simple as a bowl of water near a heat source or as involved as drying laundry indoors. These methods work because water evaporates faster when:
- The air is warm
- The air is moving
- The surface area of water is larger
- The surrounding air is dry
Natural humidifiers won’t match the output of a powered unit in a big, cold house. But in many homes, they can raise humidity enough to take the edge off, especially in bedrooms, small apartments, and well-sealed spaces.
Why humidity matters for comfort (and where the line is)
Most people feel best when indoor relative humidity sits in a moderate range. Too low, and your throat and skin dry out. Too high, and you invite mold, musty smells, and dust mites.
The US Environmental Protection Agency gives practical guidance for managing indoor moisture and preventing mold problems, including keeping humidity under control and fixing water issues fast. See the EPA’s mold and moisture resources for a clear overview: EPA guidance on mold and moisture indoors.
Signs your air is too dry
- Dry or itchy skin, cracked lips
- Scratchy throat, dry cough at night
- Nosebleeds or nasal dryness
- Static shocks
- Houseplants drying out fast
Signs you’ve gone too far
- Condensation on windows most mornings
- Musty smell in closets or corners
- Visible mold spots on grout, walls, or window frames
- Dust mites getting worse (often felt as allergy flare-ups)
If you see steady window condensation, pull back. That’s often the first sign your humidity is too high for your home’s temperature and insulation level.
Measure first: a cheap tool that saves guesswork
Before you start adding moisture, buy a simple hygrometer. It tells you the room’s relative humidity so you can adjust with confidence. Many models cost less than a takeout meal.
If you want a quick refresher on what humidity numbers mean and how they relate to comfort, this explainer breaks down the basics in plain language: how relative humidity works (National Weather Service).
A useful habit: check humidity in the morning and at night for a few days. Bedrooms often dip overnight, while kitchens and bathrooms spike during use.
Natural humidifier methods that actually work
Not all “natural humidifier” ideas are equal. These options produce real evaporation without adding weird smells or extra mess.
1) The bowl-of-water method (simple, quiet, steady)
Set a wide, shallow bowl of water near a heat source or in a spot with airflow. A wider surface evaporates faster than a tall cup.
- Use ceramic, stainless steel, or glass for easy cleaning
- Place it out of reach of kids and pets
- Refresh daily and wash the container every few days
Want to speed it up? Put the bowl near (not on) a radiator or heating vent, or place it where a ceiling fan moves air across the surface.
2) The towel-wick method (more surface area, more output)
This is one of the best natural humidifiers for a single room. You use a towel as a wick to pull water up and expose more wet fabric to air.
- Fill a bowl or baking dish with water
- Drape a clean cotton towel so one end sits in the water
- Let the rest hang over a drying rack or chair back
- Refill as needed
- Use a towel you can wash hot
- Swap towels every 1-2 days to avoid odors
- Keep it away from painted walls to prevent moisture marks
3) Drying laundry indoors (fast humidity boost with a bonus)
If your home gets very dry in winter, drying a load of laundry on a rack can bump humidity quickly. It can also save energy if you normally use a dryer.
Tips that keep it safe and clean:
- Dry in a room where you can monitor humidity
- Run a bathroom fan for short bursts if humidity climbs too high
- Don’t dry laundry in a closet or tight room with poor airflow
If you have allergies, keep the rack away from dusty areas so wet fabric doesn’t pick up particles.
4) Simmering water on the stove (high output, short sessions)
Simmering water adds moisture fast. It’s useful when you need quick relief, like before bed or during a cold snap. But you must stay in the kitchen and keep the pot attended.
- Use plain water and simmer on low
- Keep the lid off for more evaporation
- Set a timer so you don’t forget
Avoid adding essential oils to the pot. They can irritate lungs, and some are risky for pets. If you want scent, use safer methods like a ventilated sachet, not boiling oil into the air.
5) Shower steam (targeted humidity for a dry bathroom and nearby hall)
After a shower, you can leave the bathroom door open for a few minutes to share some humidity with nearby rooms. This works best if you don’t have mold issues and you keep the bathroom clean and dry between showers.
- Run the fan during the shower if you tend to get condensation
- Turn the fan off after you towel down surfaces, then open the door briefly
- Hang towels spread out so they dry fast
Bathrooms can swing from very dry to very damp. Watch your hygrometer so you don’t build a mold problem while trying to feel better.
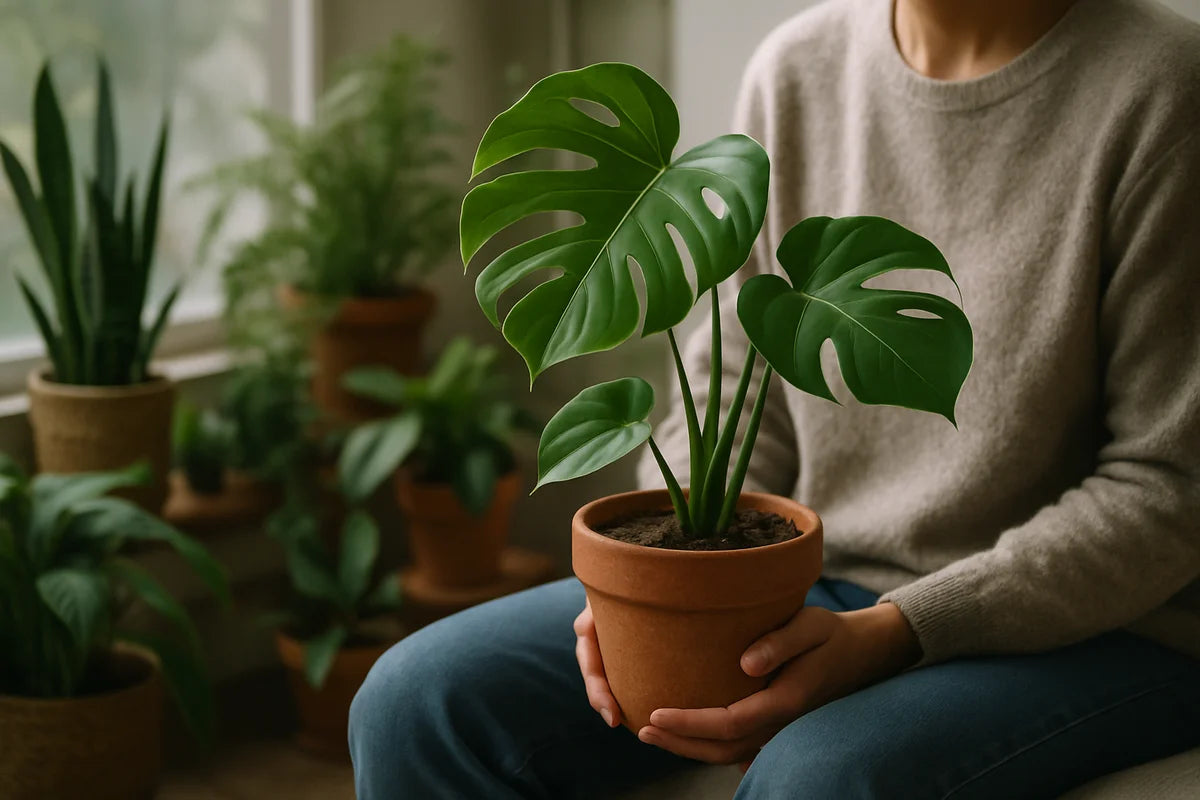
6) Houseplants (small boost, nice side effects)
Plants release moisture through transpiration. A few plants won’t humidify a whole house, but a cluster can nudge a bedroom or office upward, especially if you already run a heater.
If you’re curious how plants affect indoor air and comfort, university extension resources often give balanced, practical advice. This overview covers plant care and indoor conditions: University of Minnesota Extension houseplant resources.
- Group plants together to create a slightly more humid micro-area
- Use drip trays and avoid overwatering
- Remove dead leaves so you don’t invite gnats or mold
Where natural humidifiers work best (and where they don’t)
Best fit: bedrooms and home offices
Small, closed rooms respond well. A towel-wick setup or a bowl near a vent can make sleep more comfortable. If you wake up with a dry throat, start here.
Good fit: apartments and newer homes
Tighter construction means less air exchange, so humidity changes stick around longer. That’s good for comfort, but it also means you must watch for over-humidifying.
Hard mode: large, leaky homes in cold climates
If your home leaks air or you heat with very dry forced air, natural humidifiers may not keep up. You can still improve comfort in key rooms, but don’t expect whole-house results.
Safety and hygiene: avoid mold, pests, and stale smells
Natural humidifiers are simple, but they still involve standing water and damp surfaces. That can turn into a problem if you ignore cleaning.
Keep your target humidity in check
Many building and HVAC pros recommend keeping indoor humidity at a moderate level to reduce mold risk. This practical guide explains humidity control in homes and why too much moisture causes trouble: humidity control guidance from the US Department of Energy.
- If you see daily window condensation, reduce moisture methods right away
- Don’t run multiple high-output methods in the same room
- Use bathroom and kitchen fans when you cook or shower
Clean containers often
- Change water daily for bowls, trays, and dishes
- Wash with hot soapy water every few days
- Let containers dry fully between uses when you can
Watch for hidden damp spots
Humidity tends to collect in corners, behind furniture, and inside closets on outside walls. If you use natural humidifiers in a bedroom, pull the bed and dresser a few inches off cold exterior walls to improve airflow.
Room-by-room setups you can copy
Bedroom setup (quiet and low effort)
- One towel-wick station across the room from the bed
- Door mostly closed at night to keep humidity from drifting away
- Hygrometer on a nightstand away from the humidifying source
If you run a ceiling fan, keep it on low. Gentle airflow increases evaporation without making the room feel chilly.
Living room setup (steady, low profile)
- One wide bowl on a high, stable shelf away from electronics
- Another small bowl near a radiator, if you have one
- Stop if you notice window condensation
Kitchen setup (short bursts only)
- Simmer water while you’re already cooking
- Use the range hood if steam starts to fog windows
- Skip constant moisture in kitchens with poor ventilation
Natural humidifiers vs electric humidifiers: when to switch
Natural humidifiers shine when you want simple, quiet moisture and you don’t want another device to clean and store. Electric units make sense when you need control and consistent output.
Stick with natural methods if:
- You only need a small bump in one or two rooms
- You can monitor humidity with a hygrometer
- You don’t mind refilling bowls or swapping towels
Consider an electric humidifier if:
- Your humidity stays very low even after trying multiple methods
- You need precise control for a nursery or medical comfort needs
- You want overnight humidity without open water containers
If you do switch, keep cleaning as your main rule. Poorly maintained humidifiers can spread minerals and microbes.
Common mistakes (and easy fixes)
Leaving water out too long
- Fix: refresh daily and wash containers often
Humidifying without measuring
- Fix: buy a hygrometer and check it at least once a day in winter
Adding moisture to a home that already has damp problems
- Fix: address leaks, ventilation, and condensation first
Overdoing it in cold weather
- Fix: reduce output if you see condensation on windows or exterior walls
Quick checklist: start tonight
- Measure current humidity with a hygrometer
- Pick one method for one room (start with the towel-wick)
- Place it safely away from kids, pets, and electronics
- Re-check humidity after 3-4 hours
- Adjust: add airflow for more evaporation or stop if you see condensation
Need help estimating a healthy range for your climate and season? A simple online humidity guide can help you set a target based on comfort and mold risk: practical relative humidity guidance from an indoor air quality specialist.
Conclusion
Natural humidifiers can make a dry home feel better with tools you already have. A bowl of water, a damp towel, indoor drying, and short stove simmer sessions can all raise humidity in a controlled way. Measure as you go, keep water containers clean, and watch for condensation. When you treat moisture like something you manage, not something you “set and forget,” you get the comfort without the mold.
