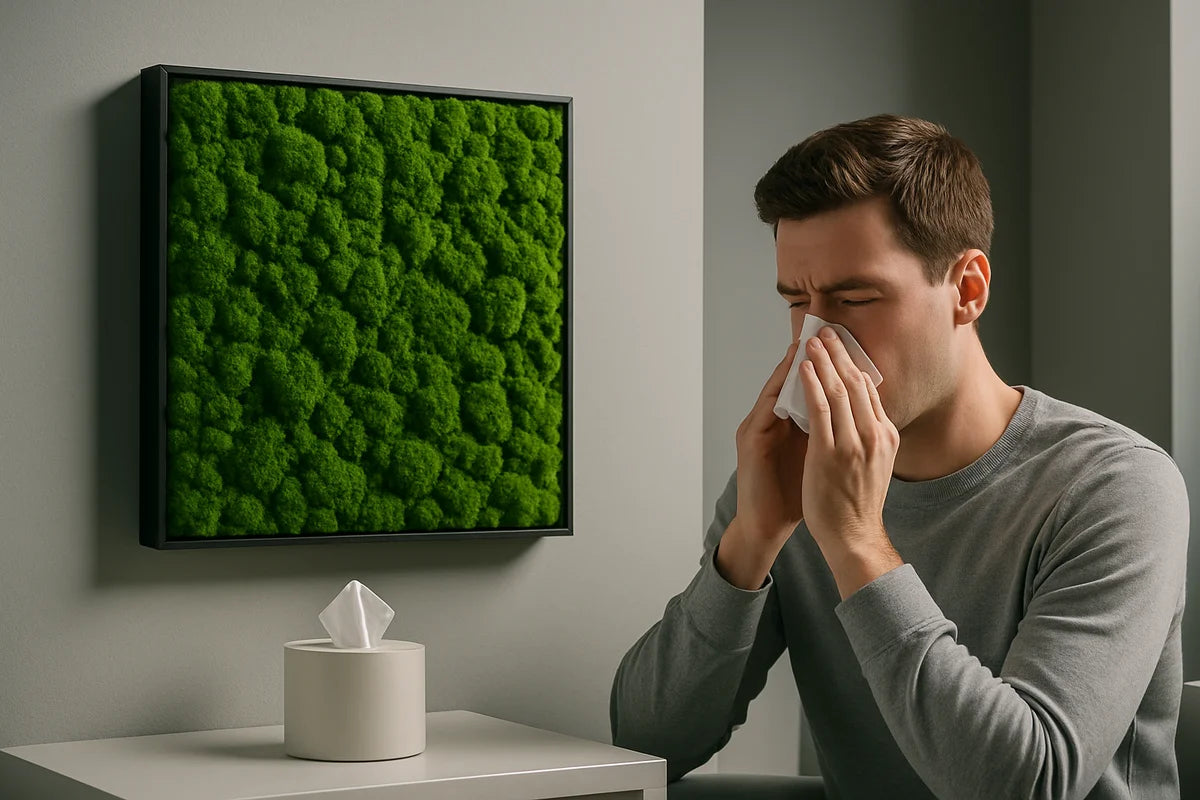
Moss walls look calm and modern. They can soften hard edges, cut glare, and make a room feel less sterile. But if you deal with allergies, you probably have one big question: will a moss wall make my symptoms worse?
The good news is that the best moss wall installation for allergy sufferers is very doable. You just need the right type of moss, the right backing, and a plan that avoids moisture, dust traps, and harsh chemicals. This article walks you through what to buy, how to install it, and how to live with it comfortably.
First, a quick truth about moss walls and allergies

People often assume moss walls are “living walls.” Many are not. Most indoor moss walls sold for homes and offices use preserved moss. Makers treat it with a preserving solution so it stays soft and green without water or sunlight. That detail matters because water is what creates the biggest allergy risk indoors: mold.
So the allergy question breaks into two parts:
- Does the moss itself trigger allergies?
- Does the wall change indoor air in a way that triggers allergies (mold, dust, odors, VOCs)?
For many allergy sufferers, preserved moss is the safer route because it does not need misting or irrigation. But “safer” is not the same as “risk-free.” Materials, adhesives, and humidity still matter.
Preserved moss vs living moss walls for allergy sufferers
Preserved moss walls (usually best for allergies)
Preserved moss walls don’t need water. That alone removes the most common mold pathway. They also don’t shed pollen the way many flowering plants can.
Still, you should watch for:
- Fragrance added to preservation mixes
- Dyes and color stabilizers
- VOCs from adhesives, sealants, and backer boards
- Dust buildup on textured surfaces over time
Living moss walls (higher risk unless you manage humidity well)
A living moss wall needs ongoing moisture. If the wall design holds water, leaks, or raises indoor humidity, you can end up with mold in the wall cavity or nearby drywall.
The U.S. EPA links damp indoor spaces with mold growth and respiratory symptoms, especially for sensitive people. If you want the details, start with EPA guidance on mold and moisture.
If you’re set on a living wall, plan for professional waterproofing and active humidity control. For most homes, preserved moss wins on simplicity and risk control.
What makes a moss wall “allergy-friendly”
The best moss wall installation for allergy sufferers is not one product. It’s a small system that works together. Focus on five things.
1) Low moisture, always
Allergy-safe moss walls stay dry. That means preserved moss, no misting, and no placement in damp areas. If your bathroom runs steamy, don’t put moss there.
Use a simple humidity target. Many people feel best when indoor relative humidity stays around 30% to 50%. If you want a baseline, ASHRAE guidance covers indoor comfort and humidity factors that influence air quality.
2) Low-VOC materials
Some allergy symptoms come from irritation, not “true” allergies. Strong odors and VOCs can set off headaches, cough, or a burning nose. Choose:
- Low-VOC or zero-VOC adhesives
- Formaldehyde-free backer boards when possible
- No added fragrance in the moss or preservative
If a supplier can’t tell you what’s in the preservative or adhesive, treat that as a red flag.
3) A surface that won’t become a dust magnet
Textured walls collect dust. Moss does too, especially reindeer moss with its soft, branchy structure. That does not mean you should avoid it. It means you should install it where you can clean around it and control dust in the room.
4) Smart placement
Placement can make or break comfort. Avoid spots near:
- Supply vents that blast air and stir dust into the wall
- Kitchens with grease particles in the air
- Bathrooms or laundry rooms with frequent humidity spikes
- Direct sun that can dry and crumble preserved moss
5) A backing that protects your wall
You want a stable panel that won’t warp or trap moisture against drywall. If you rent, you’ll also want something removable.
Good options include sealed plywood panels, PVC foam board, or aluminum composite panels. Avoid raw MDF in humid rooms.
Best moss types for allergy sufferers
Different mosses behave differently. Here’s a practical way to choose.
Sheet moss (flat, lower dust trap)
Sheet moss forms a more even layer. It can look like a forest floor. Because it’s flatter, it tends to hold less dust than very fluffy styles. It’s a solid choice if you want a calm look and easier upkeep.
Pillow moss (soft, sculpted texture)
Pillow moss creates a 3D, tufted look. It’s popular, but it has more surface area. If your home gets dusty fast, plan for stronger room cleaning habits.
Reindeer moss (bold texture, can shed bits)
Reindeer moss gives that “cloud” look and comes in many colors. Some batches shed small pieces during installation and in very dry air. If you’re sensitive, ask for a sample and rub it lightly over a dark sheet of paper. If it drops a lot of crumbs, pick a different batch or a different moss.
“Live” moss kits (not ideal for many allergy sufferers)
These can work in controlled spaces, but they demand the most moisture management. If you already fight mold or dust mites, this path often creates more work than it’s worth.
Choosing a supplier and asking the right questions
Don’t buy based on photos alone. Ask direct questions before you pay.
- Is the moss preserved or living?
- What preservative do you use, and does it include fragrance?
- Do you use fire retardant, and what type?
- What adhesive do you use, and is it low-VOC?
- What backing material is included?
- Do you have care instructions for allergy-sensitive homes?
Some vendors also test for fire performance. If you need moss walls in commercial spaces, ask for documentation that meets local code.
How to plan the best moss wall installation for allergy sufferers
You can DIY a small panel or hire a pro for a full feature wall. Either way, the steps stay the same.
Step 1: Check your room humidity before you start
Buy a simple hygrometer and track humidity for a week. If you see frequent spikes above 55% to 60%, fix that first. Often the fix is basic: run a bathroom fan longer, add a dehumidifier, or improve HVAC run time.
If you need help understanding what “good indoor air” looks like, CDC resources on indoor air offer a clear starting point.
Step 2: Pick a panel approach that limits wall damage
For allergy sufferers, removable panels have an extra benefit: you can take them down if you ever need to deep clean the space or you move.
Common options:
- Pre-made framed panels you hang like art
- Large panels mounted to furring strips (better airflow behind)
- Direct-to-wall installs (cleanest look, hardest to reverse)
If your home has any history of damp drywall, don’t glue moss directly to it.
Step 3: Use the right adhesive and let it cure off-site when you can
Adhesive odor bothers many people. If you build panels in a garage or workshop, you can let them cure before you bring them indoors.
Look for low-odor, low-VOC construction adhesive. Follow cure times. Don’t rush this part.
Step 4: Install with basic dust control
Moss can shed during handling. Keep the room clean while you work:
- Vacuum the room first with a HEPA vacuum
- Keep windows open if outdoor air quality is good
- Wear a well-fitted mask if you react to dust
- Clean up clippings right away
If you’re unsure what “HEPA” means in practice, allergy specialists explain HEPA filters and why they help.
Step 5: Avoid sealing the moss
Some people want to spray a clear coat to “lock it in.” That often adds odor and can change texture or color. It can also trap dust in a sticky film. If shedding worries you, choose a denser moss type or a better-quality batch instead.
Keeping a moss wall allergy-friendly over time
A moss wall is not high maintenance, but it’s not zero maintenance either. Your goal is to keep the room clean and keep the moss stable.
Control dust without beating up the moss
Skip wet cleaning. Preserved moss does not like water.
Try this routine:
- Run a HEPA air purifier in the room if you already use one for allergies.
- Dust nearby flat surfaces often so dust doesn’t migrate into the moss.
- If the moss looks dusty, use a cool hair dryer on low from a distance to blow dust off gently.
- Vacuum the floor right after so dust doesn’t settle back onto the wall.
If your home tends to run dry in winter, use a humidifier carefully. Very dry air can make preserved moss brittle, but too much humidity raises mold risk. Balance matters.
Watch for signs you need to adjust the room
- Musty smell: check humidity and nearby walls for dampness.
- Crumbly texture: room may be too dry or the moss may be sun-exposed.
- Color fading: it may be getting too much light.
- More sneezing near the wall: look for dust buildup and step up room cleaning.
Don’t expect moss to “clean the air”
Moss walls look natural, but preserved moss does not photosynthesize. It won’t remove CO2 or act like an air filter. If you want real air quality gains, focus on ventilation, filtration, and moisture control. For a practical overview of steps that actually reduce indoor pollutants, Energy Saver guidance on home ventilation is a useful resource.
When you should skip a moss wall
Even the best moss wall installation for allergy sufferers won’t fit every home. Think twice if:
- You have ongoing mold problems or water leaks you haven’t fixed.
- Your indoor humidity stays high most of the year.
- You react strongly to chemical smells and can’t verify low-VOC materials.
- You need a wall you can scrub often (kids’ playrooms can be rough on moss).
If you still love the look, consider a framed moss art piece in a low-humidity room. You get the visual effect with less commitment and less surface area.
Where to start if you want results without flare-ups
If you want a moss wall but you want to keep your home comfortable, start small and test your setup.
- Buy a sample box of preserved moss and keep it in the room for a week. Notice any symptoms.
- Track humidity with a hygrometer and aim for steady, moderate levels.
- Choose sheet moss or a dense pillow moss for easier dust control.
- Build a removable panel and let adhesives cure outside your living space.
- Pair the install with better filtration and a simple cleaning routine.
Once you know the room stays dry and your body tolerates the materials, scale up. A well-built moss wall can last for years. More than anything, success comes from one decision: treat it like a design feature that must respect air quality, not a plant project that needs water and hope.
