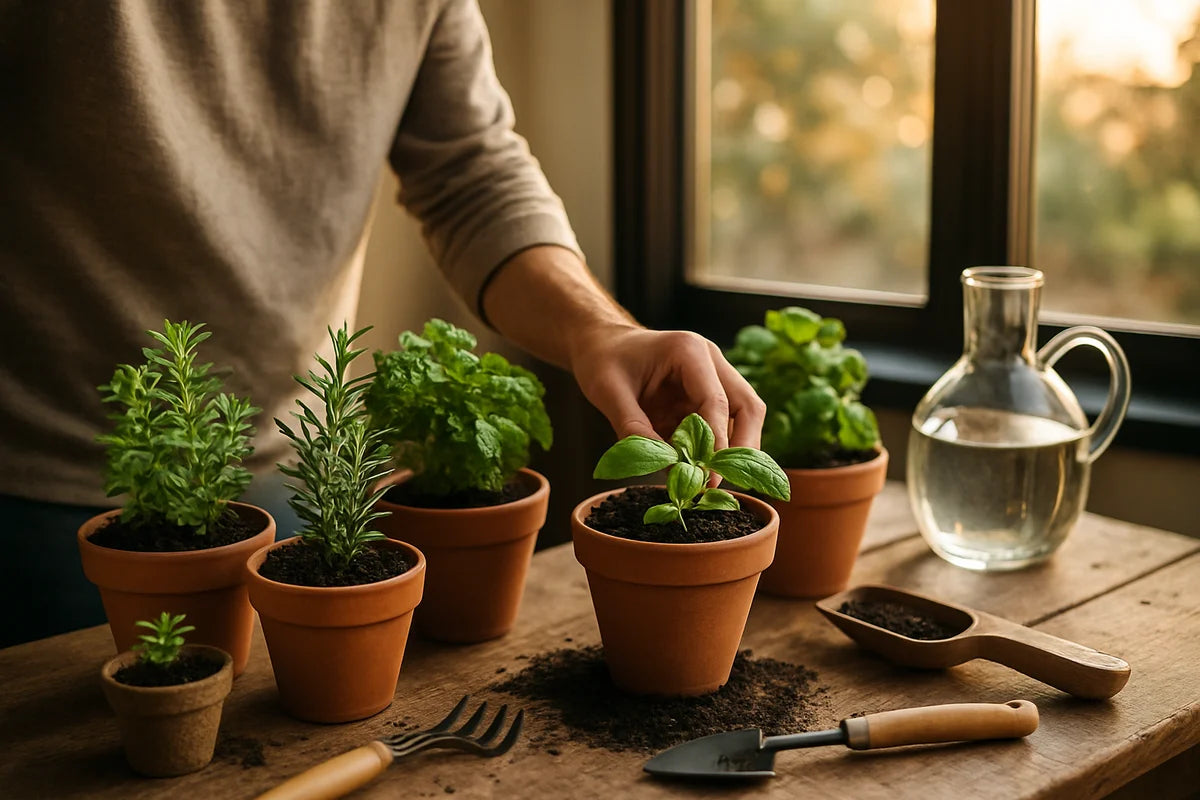
How to Create a Sustainable Indoor Herb Garden (That You’ll Actually Use)
Fresh herbs make everyday cooking better. They also cut food waste because you pick what you need, when you need it. The problem is that many indoor herb gardens start strong, then fizzle out: leggy basil, soggy soil, fungus gnats, and a sad pot of “parsley” that never grew past the seedling stage.
A sustainable indoor herb garden isn’t about fancy gear. It’s about steady light, smart watering, healthy soil, and a setup that fits your home and habits. This guide walks you through each step so your herbs thrive for months, not weeks.
What “sustainable” means for an indoor herb garden

Sustainability sounds big, but indoors it comes down to a few clear choices:
- Grow herbs that match your light and your cooking.
- Use durable pots and a soil plan you can refresh, not toss.
- Water well and avoid constant replanting.
- Choose efficient lights if you don’t have enough sun.
- Reduce waste by propagating and regrowing when you can.
If you do those things, you’ll buy fewer plastic herb packs, compost more, and get better flavor year-round.
Step 1: Pick herbs that do well indoors
Some herbs love windowsills. Others need more light than most homes can give. Start with the easy wins, then expand.
Best herbs for most indoor setups
- Mint: tough, fast, and forgiving (keep it in its own pot).
- Chives: low fuss and happy in moderate light.
- Parsley: slower, but steady once established.
- Cilantro: grows fast, then bolts; sow small batches often.
- Oregano and thyme: prefer drying out between waterings.
Herbs that need stronger light
- Basil: doable indoors, but it wants bright light and warmth.
- Rosemary: possible, but tricky without strong light and good airflow.
- Lavender: usually not worth it indoors unless you have a serious light.
Want a simple rule? Start with 3-4 herbs you use weekly. If you don’t cook with tarragon, don’t grow tarragon.
Step 2: Choose the right spot (light beats everything)
Light is the make-or-break factor for a sustainable indoor herb garden. Most homes don’t have “full sun” indoors, even if a window feels bright.
Use a window, but be honest about what it gives you
- South-facing windows (in the northern hemisphere) usually give the most light.
- East-facing windows work well for gentle morning sun.
- North-facing windows often need a grow light for anything beyond mint and chives.
If your herbs lean hard toward the window, get pale, or stretch with long gaps between leaves, they need more light.
Grow lights: the simplest upgrade for long-term success
You don’t need a complicated setup. A basic LED grow light can turn an “okay” herb garden into a steady one. LEDs also use less power than older bulbs. The ENERGY STAR guidance on efficient lighting explains why LEDs matter for energy use and heat.
- Run lights 12-16 hours a day for most herbs.
- Keep the light close enough to prevent stretching (often 6-12 inches, depending on the light).
- Put lights on a timer so you don’t babysit them.
If you want deeper detail on light intensity and what plants do with it, University of Minnesota Extension’s guide to indoor plant lighting breaks it down in plain language.
Step 3: Pick containers that last (and don’t drown roots)
Sustainability also means you don’t replace your setup every season. Choose pots that hold up and support healthy roots.
Drainage is non-negotiable
Herbs hate “wet feet.” Use pots with drainage holes and a saucer. If you love a decorative pot with no holes, use it as a cover pot and keep the herb in a plastic or nursery pot inside it. Take it out to water, let it drain, then put it back.
Right-size your pots
- Small herbs (thyme, oregano): 4-6 inch pot works well.
- Basil, parsley, cilantro: 6-8 inch pot gives roots room.
- Mint: 8 inch pot or larger, and keep it solo.
Bigger isn’t always better. Oversized pots stay wet longer, which invites root rot indoors.
Choose durable materials
- Terracotta: breathable and great for herbs that like to dry out; it dries faster.
- Glazed ceramic: holds moisture longer; great if you tend to underwater.
- Food-safe plastic: light and cheap; look for sturdy, reusable pots, not flimsy ones.
Step 4: Use a soil mix that stays airy
Garden dirt from outside compacts indoors and can bring pests. Use a potting mix made for containers, then tweak it for herbs.
A simple, reliable mix
- 2 parts quality indoor potting mix
- 1 part perlite or pumice for airflow
- Optional: a small handful of compost (don’t overdo it indoors)
The goal is a mix that drains well but still holds enough moisture to keep roots active. If the soil stays wet for days, add more perlite next time.
Need composting guidance that fits small spaces? The EPA’s home composting basics covers easy options, including what to compost and what to skip.
Step 5: Water less often, but water better
Most indoor herbs die from too much water, not too little. A sustainable indoor herb garden runs on a simple habit: check soil before you water.
The finger test (it works)
- Stick your finger 1 inch into the soil.
- If it feels moist, wait.
- If it feels dry, water thoroughly until it drains.
Match watering to the herb
- Thyme, oregano, rosemary: let the top 1-2 inches dry out.
- Basil, parsley, cilantro: keep evenly moist, not soggy.
- Mint: likes more steady moisture but still needs drainage.
Bottom watering can help if you tend to splash soil around. Set the pot in a tray of water for 10-20 minutes, then let it drain.
Step 6: Feed lightly (and on a schedule you can keep)
Indoor herbs grow in a closed system. Over time, they use up nutrients in the potting mix. But heavy feeding can make herbs taste flat and can stress plants.
- Use a mild fertilizer at half strength every 3-4 weeks in spring and summer.
- Feed less in winter when growth slows.
- If you use compost, you may need even less fertilizer.
If you want a deeper look at how nutrients affect plant growth, the National Gardening Association’s fertilizer explainer gives a clear overview without hype.
Step 7: Prune and harvest the right way
Harvesting isn’t just taking. It shapes the plant. If you pinch and cut in the right spots, you get a bushier plant that keeps producing.
Basil: pinch above a node
When basil has 2-3 sets of true leaves, pinch the top just above a pair of leaves. It will branch into two stems. Keep doing that and you’ll avoid the tall, floppy look.
Parsley and cilantro: cut outer stems first
- Harvest the older outer stems at the base.
- Let the center keep growing.
Chives: “haircut,” not single snips
Cut a handful down to 1-2 inches above the soil. Chives bounce back fast.
A good general rule: don’t harvest more than a third of the plant at once if you want steady regrowth.
Step 8: Keep pests away with simple habits
Indoor herb pests usually show up when plants get stressed. Low light, wet soil, and stale air invite trouble.
Common indoor herb pests
- Fungus gnats: larvae thrive in wet soil
- Aphids: cluster on new growth
- Spider mites: love dry air and stressed plants
Prevention that works
- Let soil dry slightly between waterings (especially for gnats).
- Give plants space so air can move.
- Rinse leaves now and then, especially in winter.
- Quarantine new plants for a week before placing them with the rest.
If you need targeted, plant-safe options, the Royal Horticultural Society’s guide to houseplant pests gives practical steps and helps you ID what you’re seeing.
Step 9: Make it sustainable with regrowing and propagation
Want your indoor herb garden to last without constant shopping trips? Propagate what you can and sow in cycles.
Easy herbs to propagate from cuttings
- Mint: root cuttings in water, then pot up
- Basil: roots quickly in water if stems are fresh
- Oregano: can root from soft stems
- Cut a 4-6 inch stem just below a leaf node.
- Remove lower leaves.
- Place in water and change it every few days.
- Pot up when roots reach 1-2 inches.
Herbs to sow in batches
- Cilantro: sow every 2-3 weeks for steady harvests.
- Dill: same idea, though it needs brighter light.
This approach reduces waste because you replace plants before they decline, instead of trying to “save” a bolting cilantro plant for weeks.
Step 10: Build a setup you’ll stick with
The best indoor herb garden is the one you use. A few practical choices make it easier to keep going.
Keep herbs near where you cook
If your herbs live in a back room, you’ll forget them. A bright kitchen window is perfect. If your kitchen lacks light, use a small grow light on a shelf or counter.
Use a tray and a routine
- Group pots on a waterproof tray to catch drips.
- Pick two “check-in” days a week to test soil moisture.
- Rotate pots weekly if they rely on window light, so they grow evenly.
Track light if you’re unsure
If you want to measure light instead of guessing, a light meter app can help you compare spots in your home. For growers who like data, MIGRO’s guide to measuring light for plants explains the basics and what the numbers mean.
A simple starter plan (low waste, high success)
If you want a clean, sustainable indoor herb garden setup without overthinking it, try this:
- Herbs: basil, parsley, chives, mint (mint in its own pot)
- Pots: four 6-8 inch pots with drainage + saucers
- Soil: potting mix cut with perlite
- Light: bright window or a small LED grow light on a timer
- Care: check soil twice a week, feed monthly, pinch basil weekly
Once you keep that alive for two months, add thyme or oregano. Then try cilantro in small batches.
Conclusion
You don’t need perfect conditions to create a sustainable indoor herb garden. You need steady light, pots that drain, airy soil, and a watering habit that respects roots. Start small, grow what you eat, and prune often. After a few weeks, you’ll stop “trying to keep herbs alive” and start using them like a pantry staple, fresh and within reach.
